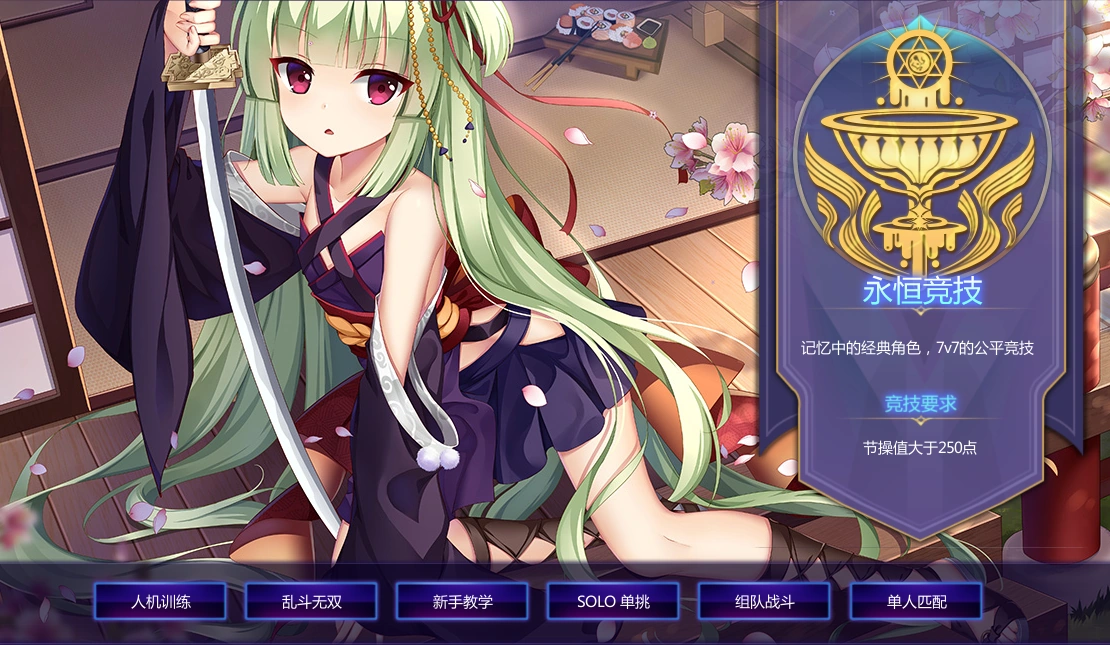
Eternal Arena or Arena Mode, commonly known as JJC by Chinese players. It is one of the classic game modes in which you participate in a 7 v 7 battle using the Blind Pick system (similar to the Blind Pick in League of Legends).
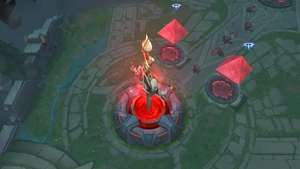
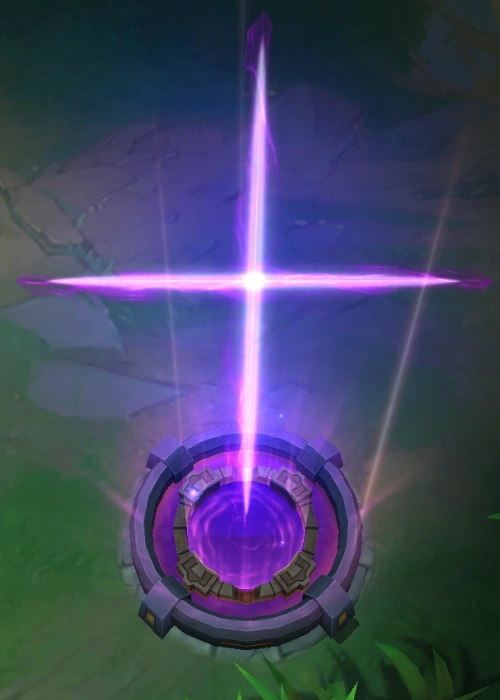
- The main objective of this mode is to simply destroy the enemy Sword of Damocles (

 ). The map is composed of three lanes and players are to pick heroes and fight their way to the enemy's base while seeking opportunities to outplay the opposing team.
 - Each lane has its own respective Ramiels (
 ) or known as Turrets as its line of defense for both teams. These turrets are required to be destroyed in order to advance all the way to the Sword of Damocles as other turrets are invulnerable until the one before it gets destroyed from its lane. On the other hand, the attack damage of the turrets increases as the turrets get nearer the Sword of Damocles.
 - The Arena sports teamwork as one of its key features since tactics apply into the game, be it from ambushes to taking down objectives.
- You need at least 250 Morality as a requirement to play this game mode.
Options[]


Available options for Eternal Arena mode
There are four options available before starting the Eternal Arena mode, they are from left to right as follows:
Novice Training[]
![]()
- Enters the practice room in Eternal Arena where you can solo battle against the Basic AI (). In this mode, the game also gives various basic instructions about how you play this game.
Solo Battle[]
![]()
- Challenges a specified player to a solo battle using one Solo License () and 2000 Gold Coins, the battle uses Eternal Arena's features, and the first player who destroys 2 turrets or obtains 2 kills is the winner.
Team Battle[]
![]()
- Opens the Team Interface to form a team. You can invite up to 3 of your friends to join you in the matchmaking with other players or go as a full team of 7 players for team matchmaking against another full team.
In team matchmaking of a full team, each player in your team must be at least level 30 to be able to start the queue. Moreover, playing as a full team will not gain any experience, gold coins or rewards from the game.
Solo Matchmaking[]
![]()
- Starts solo matchmaking for Eternal Arena.
Additional Game Modes[]

Additional game modes for Eternal Arena
The Eternal Arena currently has 2 additional modes aside from the normal game, you can participate in those modes by clicking on the buttons on the most left of the screen. The information of each mode from left to right are as follows:
Unparalleled Rumble Fighting[]
![]()
- The Unparalleled Rumble Fighting (U.R.F) (乱斗无双) mode, this game mode uses Eternal Arena's features with more following additional features:
- You will be forced to select one random hero at the Hero Selection Interface, you also have a chance to random a new hero with the following conditions:
- Every day you gain a free chance to random new hero X times, X = VIP Level.
- After exceeding the free chance, each extra chance costs 1 diamond.
- Some heroes may not be available in this game mode.
Some skills may have some adjustments to balance the game mode. - Mana costs of all heroes are removed.
- Cooldown Reduction on all heroes is automatically set at 80% for skills and summoner spells.
- All heroes gain 30 Tenacity.
- All heroes gain 10% bonus Movement Speed.
- Melee heroes gain 50% bonus Attack Speed.
- Ranged heroes gain 100% bonus Attack Speed.
- Fountain deals 80% less damage.
- Before the game starts by 5 minutes, all heroes gain 5% bonus damage against buildings and the effectiveness of all healing effects in the game is reduced by 50%.
- After the game starts by 5 ~ 10 minutes, all heroes gain 10% bonus damage against buildings and the effectiveness of all healing effects in the game is reduced by 40%.
- After the game starts by 10 ~ 15 minutes, all heroes gain 15% bonus damage against buildings and the effectiveness of all healing effects in the game is reduced by 30%.
- After the game starts by 15 ~ 20 minutes, all heroes gain 20% bonus damage against buildings and the effectiveness of all healing effects in the game is reduced by 20%.
- After the game starts by 20 ~ 25 minutes, all heroes gain 25% bonus damage against buildings and the effectiveness of all healing effects in the game is reduced by 10%.
- After the game starts by 25 minutes, all heroes gain 30% bonus damage against buildings and the effectiveness of all healing effects in the game is no longer reduced.
- Before the first wave of minions spawns by 3 minutes, all heroes gain 300 EXP every 10 seconds.
- After the first wave of minions spawns by 3 ~ 8 minutes, all heroes gain 450 EXP every 10 seconds.
- After the first wave of minions spawns by 8 minutes, all heroes gain 800 EXP every 10 seconds.
- You will be forced to select one random hero at the Hero Selection Interface, you also have a chance to random a new hero with the following conditions:
- The game mode is available only within the specified time as follows:
- 07.00 PM - 09.00 PM on 5 August 2017
- 06.00 PM - 10.00 PM on 11 August 2017
- 06.00 PM - 10.00 PM on 12 August 2017
- 00.01 PM on 13 August 2017 - 04.59 AM on 14 August 2017
- 06.00 PM - 10.00 PM on 25/26/27 August 2017
- Since 18 September 2017, the game mode is open between 8.00 PM ~ 10.00 PM every Friday, Saturday, and Sunday.
- Between 30 September 2017 ~ 8 October 2017, the game mode is open every day.
- After Patch - 2017.10.30, the game mode is available on the following schedule:
- Monday ~ Thursday: Only between 8.00 PM ~ 10.00 PM
- Friday ~ Sunday: Only between 6.00 PM ~ 10.00 PM
- After Patch - 2018.04.02, the game mode is now available on the following schedule:
- Tuesday, Thursday and Saturday: 3.00 PM ~ 5.00 PM and 9.00 PM ~ 11.00 PM
- Sunday: 6.00 PM ~ 11.59 PM
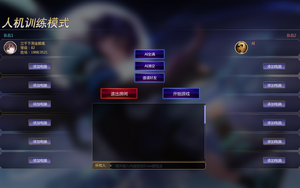
AI Training[]
![]()

"AI Training" Mode
- The AI Training (人机训练) mode, this game mode allows you to invite your friends to practice together against AI as opponents.
- Upon entering the Hero Selection Interface, the hero selection time for AI will be postponed by 20 seconds to give time for players to choose their heroes.
- Once the match starts, players will be unable to leave until the game ends.
- The data of the game will be recorded on 300 Report Website.
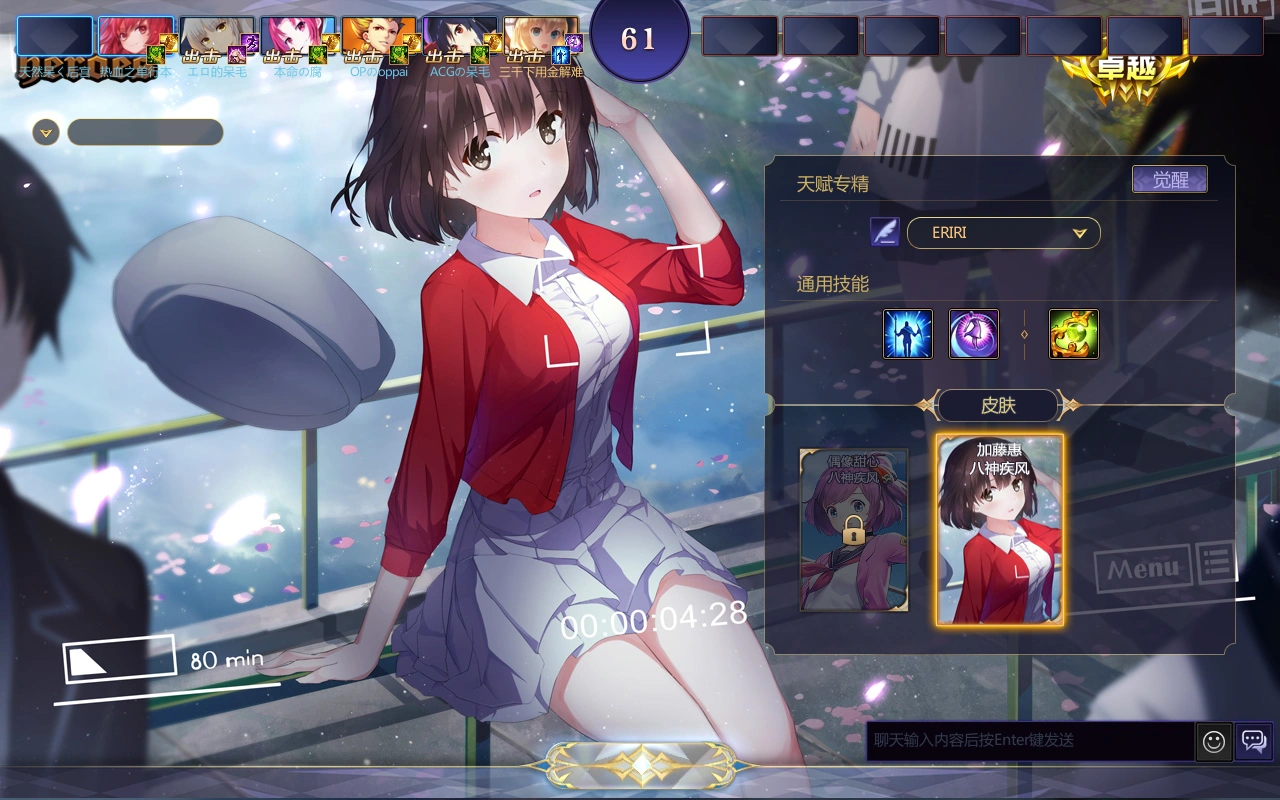
Hero Selection[]

"Hero Selection" in Eternal Arena
- The specified number of heroes are available to be selected for free in this mode as Free Hero Trial, you can see the list of free heroes at the homepage of the Wikia.
- Players select which hero they want to use from the pool of heroes on the left side of the screen. Each team cannot see what the opponent team has picked, hence it's called Blind Pick. Picking a hero is only limited to one for each team and as such, duplicates aren't allowed. Once a player picks a hero, other members won't be able to choose it regardless if the teammate has locked in or not.
Penalty For Leaving[]
- Players who leave/dodge during the Hero Selection phase will be prevented from queuing for 5 minutes if it's the first offense, increasing to 10 minutes, 30 minutes and so on for each subsequent leave/dodge. If a player were to AFK for a while during the course of the game, they will be punished through the loss of Morality regardless of the match's outcome and they will also be prevented from playing the game mode for a certain period of time.
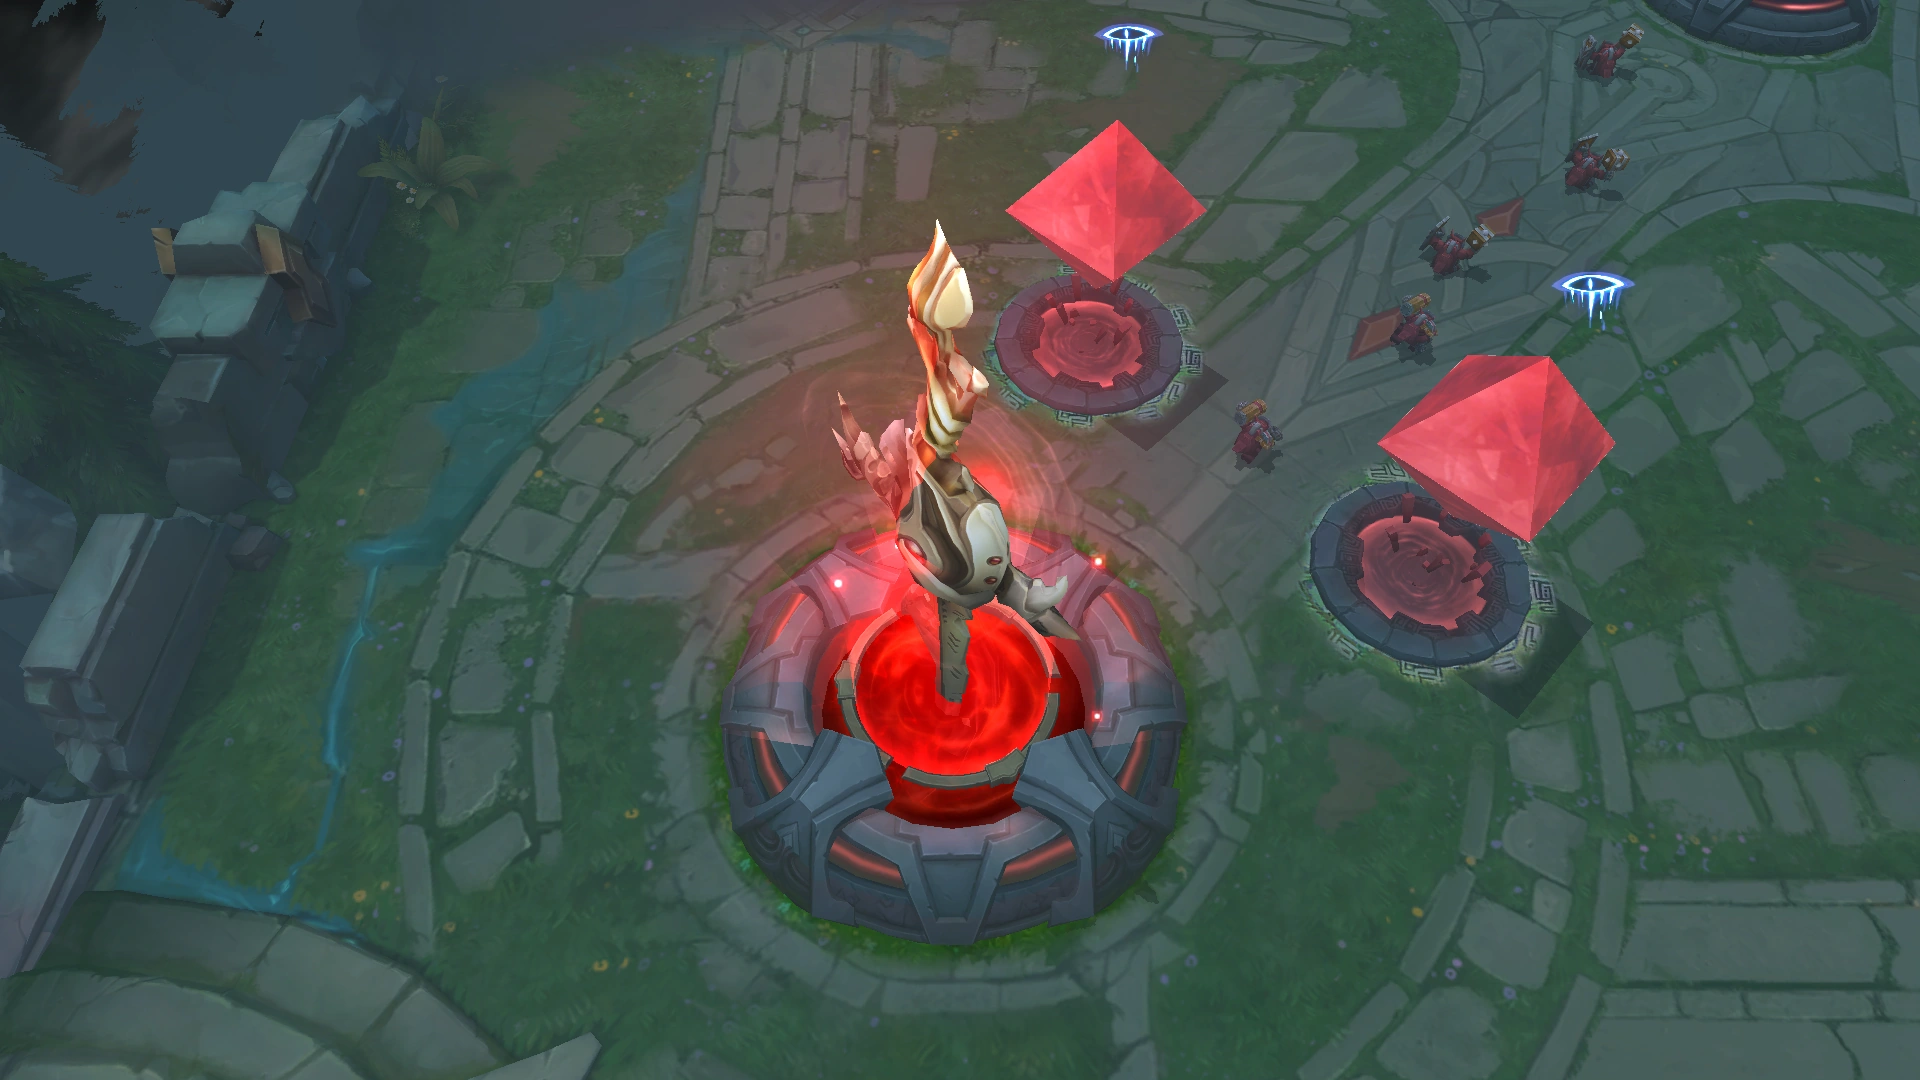
Game Environments[]
Sword of Damocles and two protective Ramiels
- There are three lanes to fight your way to the enemy's base.
- A jungle composed of neutral monsters with varying strength that each offers a different reward from Gold to buffs.
- Ramiels or known as Turrets ( ) are placed in key areas of the map. They are very powerful and must not be confronted alone. It is necessary to destroy these along with your enemies in order to achieve victory as you advance.
- A map dividing river that lies in neutral territory, allowing for quick travel between lanes.
- The two bases at the opposite corners of the map contain a shop, a Sword of Damocles, two turrets to defend the Sword of Damocles and Inhibitors ( ) that once destroyed, will spawn Super Minions ( ) for your team.
- Inside the base, there are 2 special buildings called Watchtower ( ) that have an ability to launch a flying scout that will illuminate the field of vision of the area under the selected watchtower's jurisdiction. Players can use the special ability of the watchtower by executing it through a single click of basic attacks on them (can be done by enemy heroes too), each watchtower can send the flying scout to illuminate the area only once within 90 seconds. The location of each watchtower is located on the path between the Barrack on each lane with the 1st watchtower is located between the upper lane's Barrack and the middle lane's Barrack while another one is located between the middle lane's Barrack and the bottom lane's Barrack.
Purchasing Items[]
There are 2 kinds or purchasing in the game as follows:
![]() (Shopkeepers)
(Shopkeepers)
- Item Shop: You can buy items from it by clicking at the button below the equipped equipment set or by clicking at the Shopkeeper near the starting platform. However, you must stay within the starting platform in order to do this. The Shopkeeper for the Red team is Kotomine Kirei and the Blue team is Emiya Kiritsugu. You can also sell back most items to the item shop for 70% of the total gold spent to obtain them (with some exceptional items are sold back with lower or higher than 70% of the total gold spent to obtain them).
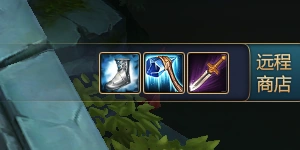 (Online Shop Panel)
- Online Shop: This shop allows you to basic equipment when away from the base by clicking on the item icons at the top-right corner of the screen. The equipment available on the shop are as follows: Stone Axe, Magic Scroll, Life Crystal, Mana Crystal, Gale Dagger, Boots of Speed. The equipment on the shop only appears when you have enough gold to buy them. When purchasing them, your hero will channel for 5 seconds in order for the purchase to be completed.
Turrets[]
![]() (Outer Turret / 1st Turret)
(Outer Turret / 1st Turret)
- Health: 2660
- Health Regeneration: 0 per 5 seconds
- Attack Damage: 152 ~ 200 (Maxed within 8 minutes)
- Armor: 52 ~ 64 (Maxed within 16 minutes)
- Magic Resist: 100 ~ 112 (Maxed within 8 minutes)
- The outer turrets start to upgrade after 40 seconds of the game time and they will be upgraded again once every 40 seconds.
- Each upgrade increases Attack Damage by 4 and both Armor and Magic Resist by 1 for a total of 12 times (+48 Attack Damage, +12 Armor and +12 Magic Resist).
- Outer turrets gain 50 bonus Armor and Magic Resist at the first 8 minutes of the game time.
- Outer turret has an ability called A.T field that lasts for 14 in-game minutes. While the field exists, the outer turret will provide the effect of Protected by Turret to all nearby allied heroes within range, increasing their Armor and Magic Resist by 25.
- The turrets receive bonus stats (388% Armor, 247% Magic Resist, 50% Attack Damage, and 30% Damage Reduction) when no enemy minions are in range for attack.
![]() (Middle Turret / 2nd Turret)
(Middle Turret / 2nd Turret)
- Health: 3600
- Health Regeneration: 0 per 5 seconds
- Attack Damage: 164 ~ 260 (Maxed within 16 minutes)
- Armor: 52 ~ 76 (Maxed within 16 minutes)
- Magic Resist: 100 ~ 124 (Maxed 8 minutes)
- The middle turrets start to upgrade after 40 seconds of the game time and they will be upgraded again once every 40 seconds.
- Each upgrade increases Attack Damage by 4 and both Armor and Magic Resist by 1 for a total of 24 times (+96 Attack Damage, +24 Armor and +24 Magic Resist).
- The turrets receive bonus stats (388% Armor, 247% Magic Resist, 50% Attack Damage, and 30% Damage Reduction) when no enemy minions are in range for attack.
![]() (Inner Turret / 3rd Turret)
(Inner Turret / 3rd Turret)
- Health: 3700
- Health Regeneration: 0 per 5 seconds
- Attack Damage: 176 ~ 320 (Maxed within 24 minutes)
- Armor: 52 ~ 88 (Maxed within 24 minutes)
- Magic Resist: 100 ~ 136 (Maxed within 24 minutes)
- The middle turrets start to upgrade after 40 seconds of the game time and they will be upgraded again once every 40 seconds.
- Each upgrade increases Attack Damage by 4 and both Armor and Magic Resist by 1 for a total of 36 times (+144 Attack Damage, +36 Armor and +36 Magic Resist).
- The turrets receive bonus stats (388% Armor, 247% Magic Resist, 50% Attack Damage, and 30% Damage Reduction) when no enemy minions are in range for attack.
![]() (Royal Turret / 4th Turret)
(Royal Turret / 4th Turret)
- Health: 5600
- Health Regeneration: 25 per 5 seconds
- Attack Damage: 176 ~ 392 (Maxed within 40 minutes)
- Armor: 52 ~ 112 (Maxed within 40 minutes)
- Magic Resist: 100 ~ 160 (Maxed within 40 minutes)
- The middle turrets start to upgrade after 40 seconds of the game time and they will be upgraded again once every 40 seconds.
- Each upgrade increases Attack Damage by 4 and both Armor and Magic Resist by 1 for a total of 60 times (+240 Attack Damage, +60 Armor and +60 Magic Resist).
- The turrets receive bonus stats (388% Armor, 247% Magic Resist, 50% Attack Damage, and 30% Damage Reduction) when no enemy minions are in range for attack.
Minions[]
- Each time a minion is killed, it automatically grants Gold equal to 20% of the minion's bounty (5 Gold for Melee Minions, 3 Gold for Caster Minions, and 16 + [1 per 1.5 minutes] for Siege Minions) to 2 nearby enemy heroes when the dying minion is killed by hero unit and 3 nearby enemy heroes when the dying minion is killed by non-hero unit.


![]()
![]() (Melee Minion)
(Melee Minion)
- Health: 510 + [15 per 1.5 minutes]
- Attack Damage: 10 + [2 per 1.5 minutes]
- Armor: 33
- Magic Resist: 0
- Bounty gained: 25 Gold
- Experience gained: 700
- This minion uses melee attacks against their enemies. Each wave spawns 3 melee minions on each lane.
![]()
![]() (Caster Minion)
(Caster Minion)
- Health: 280 + [10 per 1.5 minutes]
- Attack Damage: 40 + [4 per 1.5 minutes]
- Armor: 33
- Magic Resist: 0
- Bounty gained: 20 Gold
- Experience gained: 350
- This minion uses ranged attacks against their enemies. Each wave spawns 3 caster minions on each lane.
- The 3rd Caster Minion on each wave always restores 3% of the killer's maximum Health and Mana upon being killed.


![]()
![]() (Siege Minion)
(Siege Minion)
- Health: 900 + [50 per 1.5 minutes]
- Attack Damage: 60 + [4 per 1.5 minutes]
- Armor: 15
- Magic Resist: 0
- Bounty gained: 60 + [5 per 1.5 minutes] Gold
- Experience gained: 1100
- This minion uses ranged attacks against their enemies and acts as a leader of the minion waves.
- They have short ranged attacks in Eternal Arena but have long ranged attacks that exceed more than turrets in Eternal Battlefield.
- After the game starts, every 3rd wave spawns 1 siege minion on each lane.
- After 25 in-game minutes, every 2nd wave will start spawning 1 siege minion on each lane.
- After 35 in-game minutes, each wave will start spawning 1 siege minion on each lane.

![]()
![]() (Fleet Minion)
(Fleet Minion)
- This minion is a skin that replaces the default skin of Siege Minions.
- This skin is available on both teams only when there is at least one Kongou with Yamato skin () within the game.

![]()
![]() (Super Minion)
(Super Minion)
- Health: 1500 + [200 per 3 minutes]
- Attack Damage: 321 + [5 per 1.5 minutes]
- Armor: 100
- Magic Resist: 0
- Bounty gained: 60 + [3 per 1.5 minutes] Gold
- Experience gained: 1100
- This minion uses melee attacks and has strong endurance.
- This minion replaces Siege Minion on the lane that the opponent's inhibitor is destroyed, they will stop spawning after the Inhibitor on that lane respawns.
Neutral Monsters[]
All neutral monsters (except for Lesser Dragon and Greater Dragon) have their level equal to the average level of all heroes in the game.
All neutral monsters (except for Lesser Dragon and Greater Dragon) will grow all of their stats except Attack Damage until level 11, their Attack Damage will grow until level 18.
When you have your level higher than the average level of your team by 2 levels. The penalty for experience received will be forced on you to receive only 33% of the total experience points from any monster killed by you.
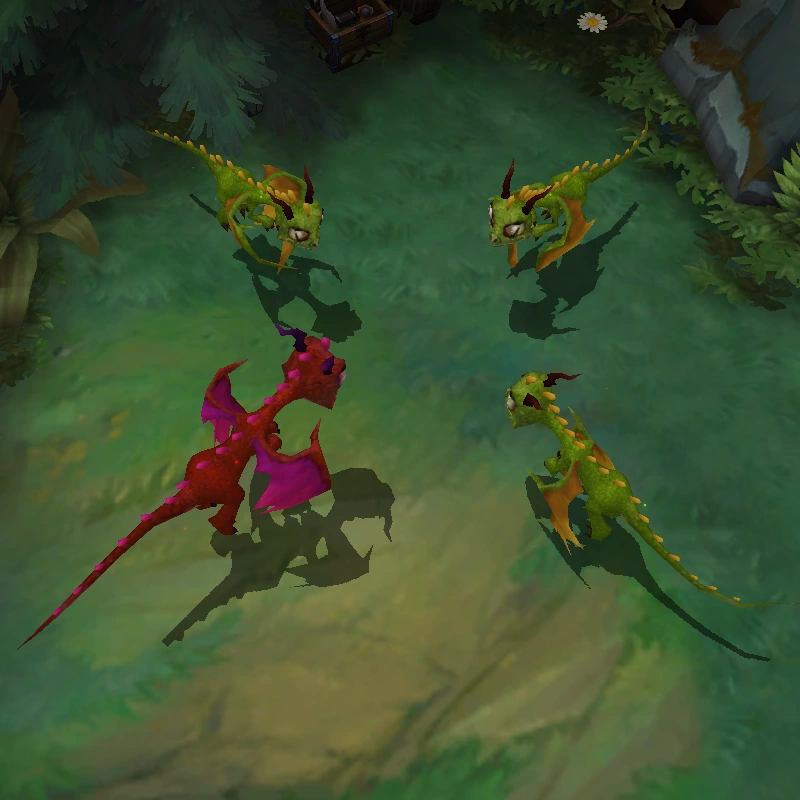
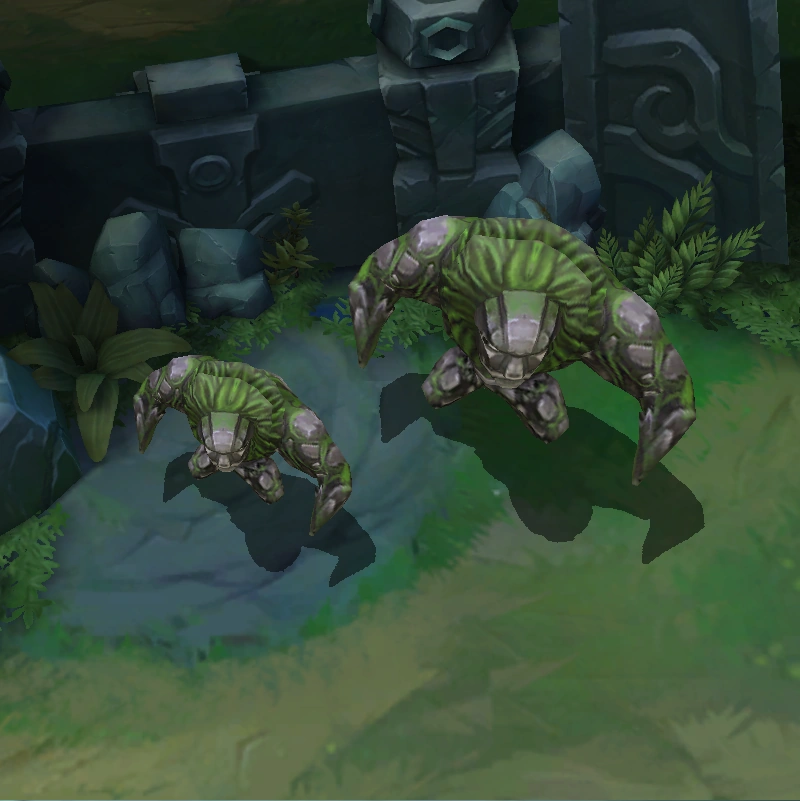
(Whelp Camp): Initial spawn time is 0:30 minute mark, and re-spawn time is 120 in-game seconds.
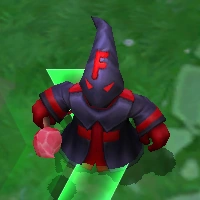
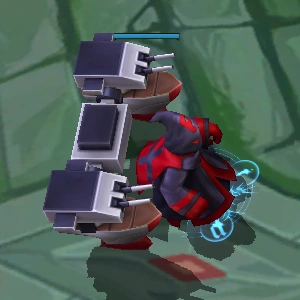
![]() (Red Whelp)
(Red Whelp)
- Health: 800 ~ 2100 (Level 1 ~ 11)
- Attack Damage: 38 ~ 181 (Level 1 ~ 18)
- Attack Speed: 0.9 attacks/second
- Armor: 50
- Magic Resist: 30
- Experience gained: 325
- Bounty gained: 15 + [2 per minute] Gold
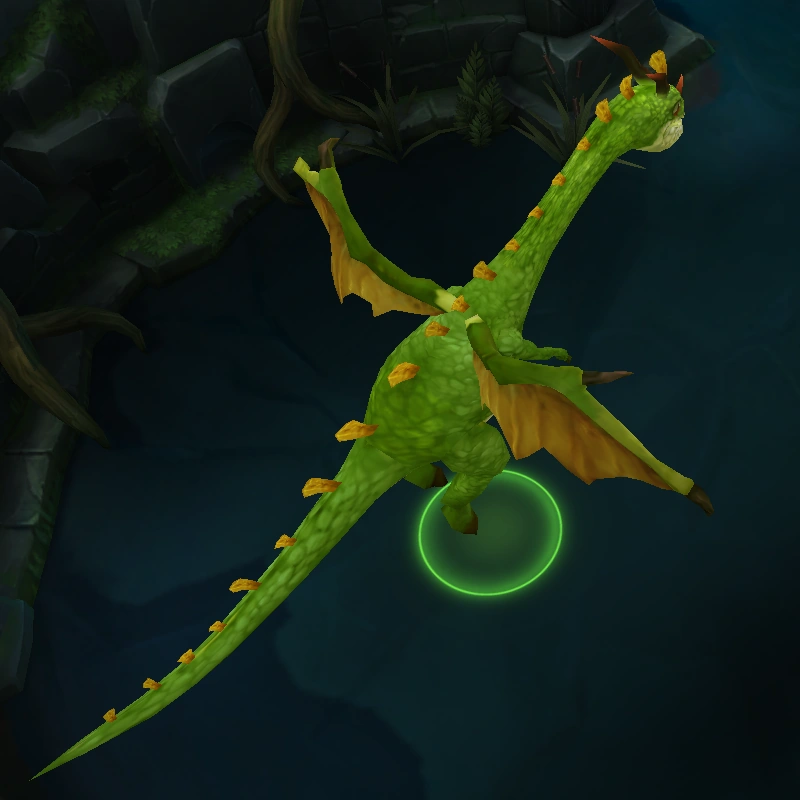
![]() (Green Whelp)
(Green Whelp)
- Health: 450 ~ 1100 (Level 1 ~ 11)
- Attack Damage: 10 ~ 48 (Level 1 ~ 18)
- Attack Speed: 0.72 attacks/second
- Armor: 50
- Magic Resist: 20
- Experience gained: 225
- Bounty gained: 10 Gold
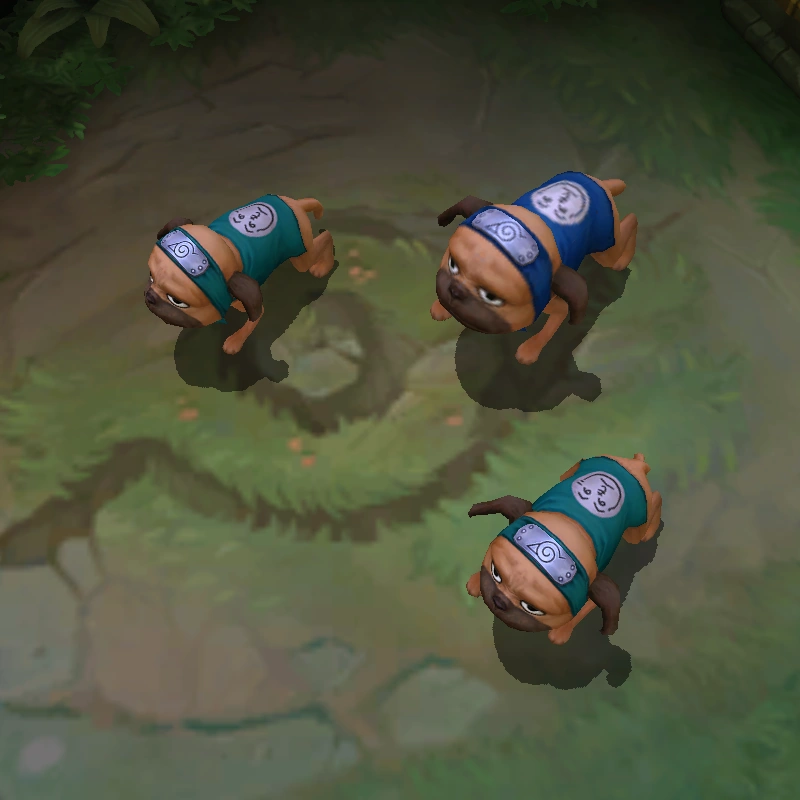
(Pakkun Camp): Initial spawn time is 0:30 minute mark, and re-spawn time is 120 in-game seconds.
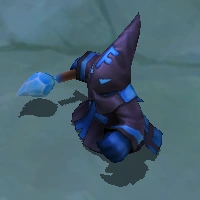
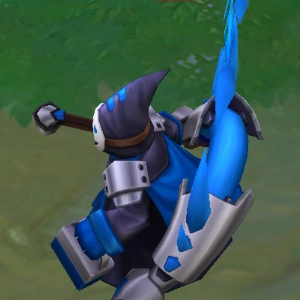
![]() (Blue Pakkun)
(Blue Pakkun)
- Health: 700 ~ 1950 (Level 1 ~ 11)
- Attack Damage: 44 ~ 223 (Level 1 ~ 18)
- Attack Speed: 0.8 attacks/second
- Armor: 50
- Magic Resist: 0
- Experience gained: 400
- Bounty gained: 21 + [2 per minute] Gold
![]() (Green Pakkun)
(Green Pakkun)
- Health: 525 ~ 1250 (Level 1 ~ 11)
- Attack Damage: 9 ~ 44 (Level 1 ~ 18)
- Attack Speed: 1.3 attacks/second
- Armor: 50
- Magic Resist: 30
- Experience gained: 300
- Bounty gained: 12 Gold
(Golem Camp): Initial spawn time is 0:30 minute mark, and re-spawn time is 120 in-game seconds.
![]() (Greater Golem)
(Greater Golem)
- Health: 675 ~ 1850 (Level 1 ~ 11)
- Attack Damage: 50 ~ 239 (Level 1 ~ 18)
- Attack Speed: 0.54 attacks/second
- Armor: 50
- Magic Resist: 0
- Experience gained: 600
- Bounty gained: 25 + [2 per minute] Gold
![]() (Lesser Golem)
(Lesser Golem)
- Health: 650 ~ 1600 (Level 1 ~ 11)
- Attack Damage: 35 ~ 167 (Level 1 ~ 18)
- Attack Speed: 0.54 attacks/second
- Armor: 50
- Magic Resist: 0
- Experience gained: 400
- Bounty gained: 20 Gold
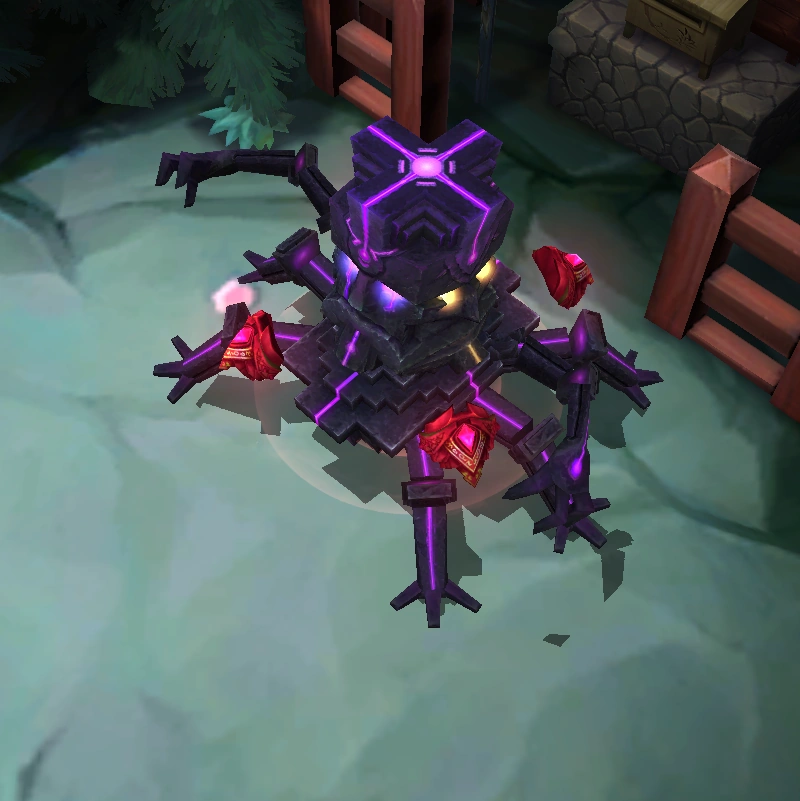
(Dark Dwarf Miner Camp): Initial spawn time is 0:30 minute mark, and re-spawn time is 120 in-game seconds.
![]() (Dark Dwarf Miner)
(Dark Dwarf Miner)
- Health: 950 ~ 2700 (Level 1 ~ 11)
- Attack Damage: 47 ~ 223 (Level 1 ~ 18)
- Attack Speed: 0.8 attacks/second
- Armor: 50
- Magic Resist: 10
- Experience gained: 1000
- Bounty gained: 45 + [2 per minute] Gold
(Red Monster Camp): Initial spawn time is 0:20 minute mark, and re-spawn time is 150 in-game seconds.
![]() (Greater Red Monster)
(Greater Red Monster)
- Health: 1500 ~ 4000 (Level 1 ~ 11)
- Attack Damage: 84 ~ 401 (Level 1 ~ 18)
- Attack Speed: 0.4 attacks/second
- Armor: 50
- Magic Resist: 10
- Experience gained: 1350
- Bounty gained: 50 + [2 per minute] Gold
- Killing Greater Red Monster grants Strength of the Earth buff () that lasts for 150 seconds to the killer.
- (Strength of the Earth (大地之力)) - Grants 5% bonus Movement Speed, 5% bonus Attack Speed, and 7% bonus Attack Damage. Attacking enemy units with basic attacks will inflict a debuff that slows the target's Movement Speed for 3 seconds. If the buff holder is slain, this buff is transferred to the killer.
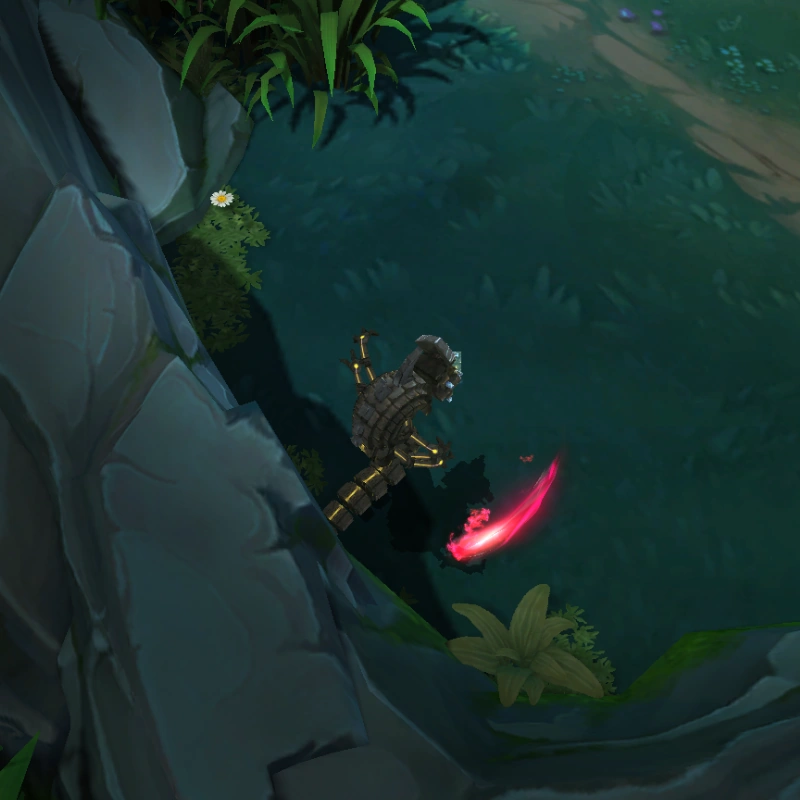
(Lesser Red Monster Camp): Initial spawn time is 1:20 minute mark, and re-spawn time is 120 in-game seconds.
![]() (Lesser Red Monster)
(Lesser Red Monster)
- Health: 1050 ~ 3000 (Level 1 ~ 11)
- Attack Damage: 64 ~ 304 (Level 1 ~ 18)
- Attack Speed: 0.4 attacks/second
- Armor: 50
- Magic Resist: 10
- Experience gained: 1350
- Bounty gained: 50 + [2 per minute] Gold
- Killing Lesser Red Monster grants Rage of Red Monster buff () that lasts for 45 seconds to the killer.
- (Rage of Red Monster): Increases 8% Movement Speed during out of combat. This buff is consumed the next time the holder deals damage to an enemy hero, dealing 50 + [5 x Hero Level] + [8% of target's maximum Health] bonus physical damage, and reducing target's Movement Speed by 25% and Armor by 25% for 3 seconds.
(Blue Monster Camp): Initial spawn time is 0:20 minute mark, and re-spawn time is 150 in-game seconds.
![]() (Greater Blue Monster)
(Greater Blue Monster)
- Health: 1500 ~ 4000 (Level 1 ~ 11)
- Attack Damage: 84 ~ 401 (Level 1 ~ 18)
- Attack Speed: 0.4 attacks/second
- Armor: 50
- Magic Resist: 0
- Experience gained: 1350
- Bounty gained: 50 + [2 per minute] Gold
- Killing Greater Blue Monster grants Tireless Efforts buff () that lasts for 150 seconds to the killer.
- (Tireless Efforts (不倦精力)): Grants 15 Mana Regeneration per 5 seconds, 75% Mana Regeneration rate and 10% Cooldown Reduction. If the buff holder is slain, this buff transfers to the killer.
(Lesser Blue Monster Camp): Initial spawn time is 1:20 minute mark, and re-spawn time is 120 in-game seconds.
![]() (Lesser Blue Monster)
(Lesser Blue Monster)
- Health: 1050 ~ 3000 (Level 1 ~ 11)
- Attack Damage: 64 ~ 304 (Level 1 ~ 18)
- Attack Speed: 0.4 attacks/second
- Armor: 50
- Magic Resist: 0
- Experience gained: 1350
- Bounty gained: 50 + [2 per minute] Gold
- Killing Lesser Blue Monster grants Rage of Blue Monster buff () that lasts for 45 seconds to the killer.
- (Rage of Blue Monster): Increases 8% Movement Speed during out of combat. This buff is consumed the next time the holder deals damage to an enemy hero, dealing 50 + [5 x Hero Level] + [8% of target's maximum Health] bonus magic damage, and reducing target's Movement Speed by 25% and Magic Resist by 25% for 3 seconds.
(Lesser Dragon Camp): Initial spawn time is 3:00 minute mark, and re-spawn time is 6 minutes after being defeated.
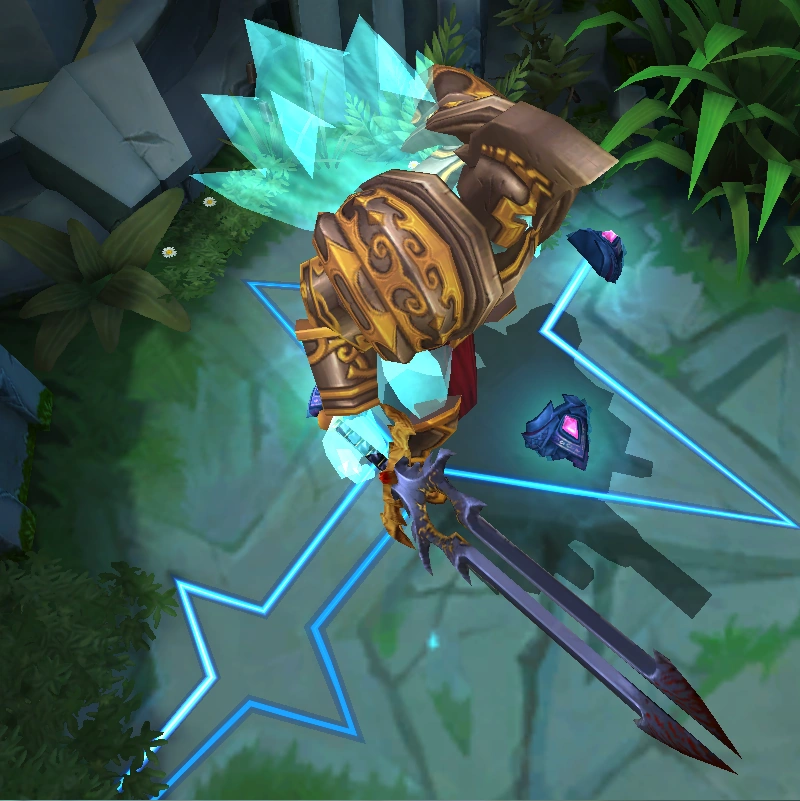
![]() (Lesser Dragon)
(Lesser Dragon)
- Health: 5000 ~ 13400 (Level 6 ~ 18)
- Attack Damage: 240
- Attack Speed: 0.69 ~ 2.5 attacks/second (Level 6 ~ 18)
- Armor: 50 ~ 100 (Level 6 ~ 18)
- Magic Resist: 33 ~ 50 (Level 6 ~ 18)
- Experience gained: 500
- Bounty gained: 50 Gold
- The initial level of the dragon starts at level 6.
- Team Bounty: Killing the Lesser Dragon grants 2000 Experience and 200 Gold to all teammates, including the killer.
- When reaching the initial spawn time of the Greater Dragon, the Lesser Dragon will be removed from the game for 5 seconds before the Greater Dragon spawns on the same exact location. When the Greater Dragon is spawned, the Lesser Dragon is permanently removed from the game and its spawn location is changed to the spawn location of the Greater Dragon.
(Greater Dragon Camp): Initial spawn time is 20:00 minute mark, and re-spawn time is 7 minutes after being defeated.
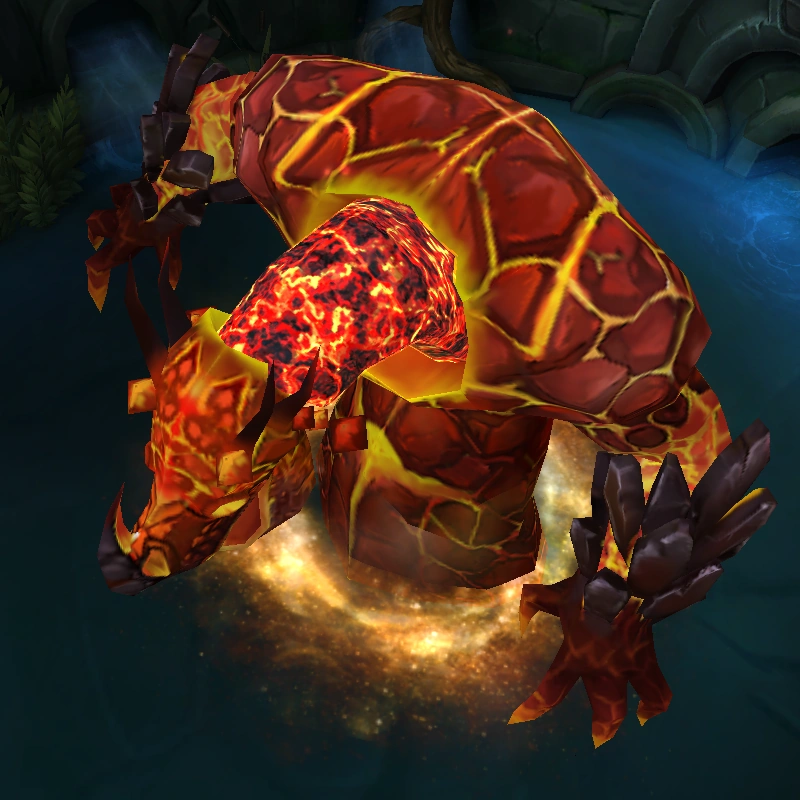
![]() (Greater Dragon)
(Greater Dragon)
- Health: 14400 + [300 per minute]
- Attack Damage: 400 + [10 per minute] (up to 600)
- Attack Speed: 0.75
- Armor: 120
- Magic Resist: 67
- Experience gained: 500
- Bounty gained: 50 Gold
- Team Bounty: Killing the Greater Dragon grants 9500 Experience, 350 Gold, and the Blazing Gift buff () that lasts for 3 minutes to all teammates, including the killer.
- (Blazing Gift (熔岩的恩赐)) - Grants 30 + 8% Attack Damage, 40 + 8% Ability Power, 65 Health Regeneration per 5 seconds and 35 Mana Regeneration per 5 seconds. If the buff holder is slain, this buff disappears.
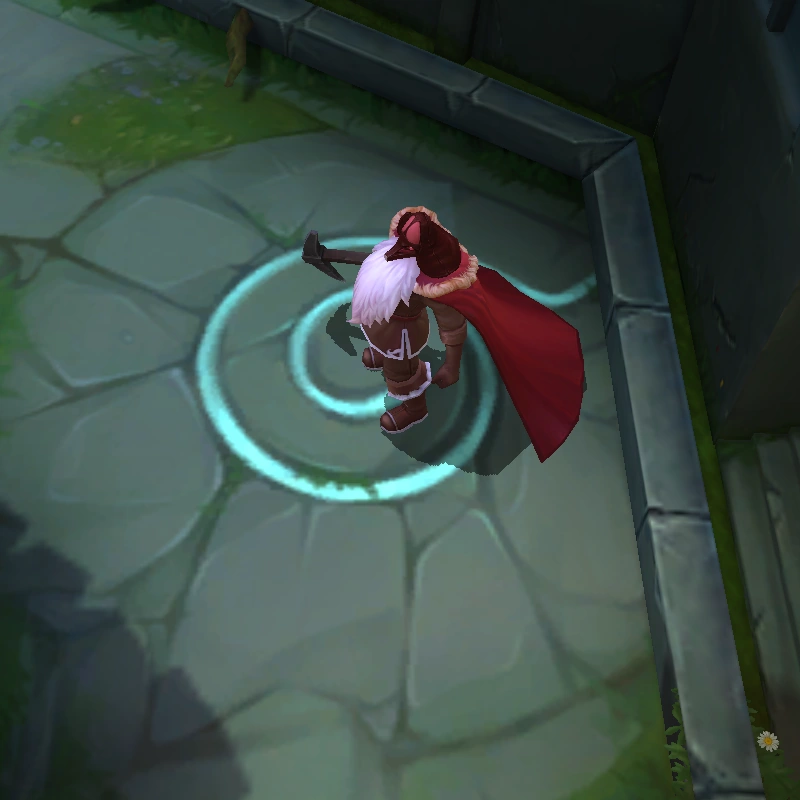
(Spirit Monument): Initial spawn time is 5:00 minute mark, and re-spawn time is 5 in-game minutes.
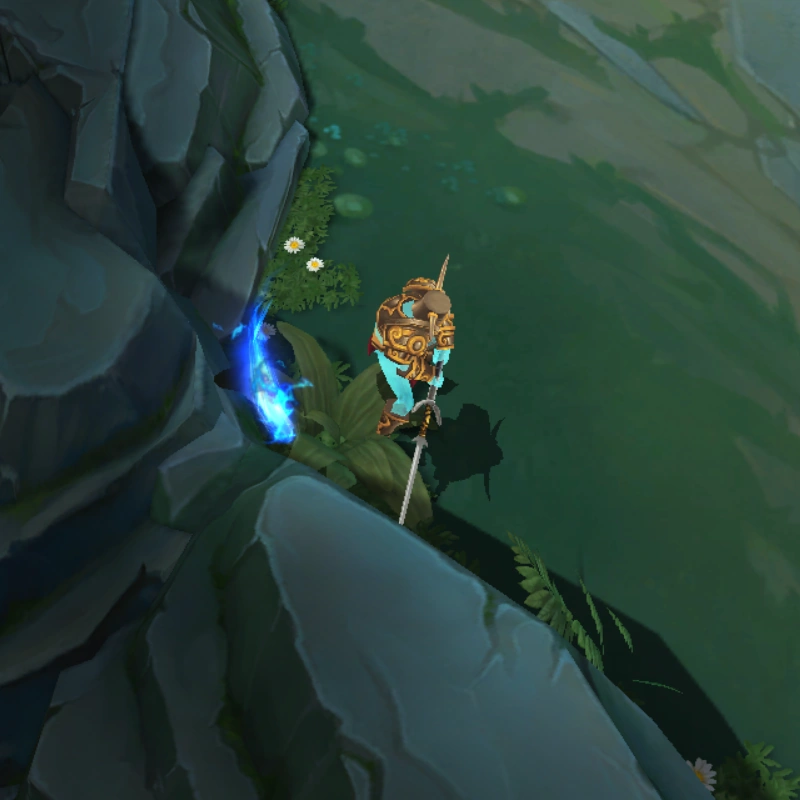
![]() (Spirit Monument)
(Spirit Monument)
- Health: 5000 + [250 per minute]
- Armor: 0
- Magic Resist: 0
- Experience gained: 2100
- Bounty gained: 100 Gold
- Team Bounty: Destroying the Spirit Monument grants 50 Gold to all teammates.
- Magical Rune: After this monument is destroyed, it always drops 1 random type of Magical Rune ( ) that can be picked by any hero of the team that destroys the monument. The rune will disappear after not being picked within 30 seconds. The hero who collects the rune will grant the bonus effect according to the type of rune they retrieve as follows:
- Magical Rune: Lightning (灵符:闪电)
- Duration: 120 seconds
- 1st Effect: Increases the basic attack damage by 20% and skill damage 10%.
- 2nd Effect: Your basic attacks and damage skills will unleash the chain lightning that inflicts 24 + [Hero Level x 12] magic damage to the first enemies before bouncing to the next nearby targets, hitting up to 6 targets. The chain lightning can't be released more than once within 2 seconds.
- Magical Rune: Barrier (灵符:壁垒)
- Duration: 120 seconds
- 1st Effect: Grants a shield value equivalent to 30%-50% of your base Health (based on your hero level). If you don't receive any attack from enemies within 3 seconds, the shield value from this effect is restored by 10% of its full amount every second.
- Magical Rune: Bloody Bat ( 灵符:血蝠)
- Duration: 120 seconds
- 1st Effect: Summons a batch of bat familiars to circle around yourself, dealing 12 + [Hero Level x 6] magic damage to all nearby enemies and restoring your Health equal to 30% of the damage dealt by bat familiars. If the target is a non-hero unit, the healing received from the damage dealt on them is reduced to 10% of the damage dealt.
- 2nd Effect: During out of combat, you will be transformed into a Bloody Bat to prevent yourself from being detected by enemies and increase your own Movement Speed by 20%.
Arena Cross-server Group[]
The players from servers within the same cross-server group can add, invite, and meet other players from different servers within the same group of the same region (Netcom or Telecom). Here is the full list of all cross-server groups.
China Netcom[]
| Group | Start | Servers |
|---|---|---|
| A | 2014.10.31 |  
|
| B | 2015.09.24 |   
|
China Telecom[]
| Group | Start | Servers |
|---|---|---|
| A | 2014.10.31 |   
|
| B | 2014.11.11 |   
|
| C | 2015.05.27 2015.09.24 2017.04.17 |
   
|
| D | 2015.10.22 2016.03.09 2019.05.23 |
     
|
| E | 2016.09.20 |    
|
| F | 2017.04.17 |  
|
| G | 2019.05.23 2020.07.09 |
      
|
Verification System[]
The verification system is created for the sole purpose to prevent malicious acts toward the game such as AFK or Botting, there are several kinds of verification that were installed into the game from the past up to the present day as follows:
- Code Verification (Currently Active)
- At the end of each game, the system will pop-up the window that forces all players to input the code for verification.
- You must put the correct code and click the left button to confirm the code, completing the verification allows you to gain the game's rewards and achievements.
- You can input the code up to 3 times
- You can click on 看不清、 换一张 to reset the verification codes if the code is not clear enough.
- If you click on the right button or can't put the correct code within 3 tries, you will not gain any rewards or achievements, you will also gain 1 negative point.

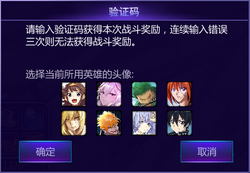
Image Verification
- Image Verification (Currently Disabled)
- After Patch - 2019.03.25, at the end of each game, the system will pop-up the window that forces all players to select the correct icon for verification.
- You must select the image of the hero you play and click the left button to confirm the code, completing the verification allows you to gain the game's rewards and achievements.
- You can select the image up to 3 times
- If you click on the right button or can't put the correct code within 3 tries, you will not gain any rewards or achievements, you will also gain 1 negative point.
- Question Verification (Currently Disabled)
- After Patch - 2019.04.28, at the end of each game, the system will pop-up the window that forces all players to answer a quiz for verification.
- You must answer the question shown in the interface and click the left button to confirm the answer, completing the verification allows you to gain the game's rewards and achievements.
- You can answer the question up to 3 times
- If you click on the right button or can't put the correct code within 3 tries, you will not gain any rewards or achievements, you will also gain 1 negative point.
- Negative Points (N/A)
- When a player has 3/4/5 Negative Scores, they will automatically be suspended from the game for 10/30/60 minutes.
- When a player has 6 Negative Scores or more, each additional 1 Negative Score from now on, they will automatically be suspended from that game mode for 2 more hours.
- Accumulated Negative Scores are reset daily at 0.00 AM.
- This system is implemented after Patch - 2016.07.04, However, there is no visible screen or notify to show your current Negative Scores within the game. Therefore, it can't be proved that this is system is still available at the moment.
Reporting System[]
- At present, for players who passively abuse the game or treat the game poorly (botting, AFK, feeding, abusive actions toward the team...etc), 300 Official Team has finally launched the reporting system (the current reporting system we knew). When the players who negatively treat the game meet the requirement determined by the reporting system, those players will be banned from the game for a fixed period of time, if they are reported again after the ban was lifted and the system deems them to meet the requirement for being banned again, their banning period will be extended.
- The players who were banned will be unable to login for 7 days / 30 days / 360 days / permanent when they were banned for the 1st / 2nd / 3rd / 4th times. The 300 Official Team will also publish the list of those players on a regular basis.
- After the update on Patch - 2019.10.10, there are parts of the update that mentioned about Credit Points. The Credit Points are values that could be used to determine the judgment on players that are reported to the report system, the lower the points they have the higher the chance their reported cases will be investigated before others. The point can be earned from daily login by 1 point per day, and each completion on Eternal Arena or Eternal Battlefield (including AI Training mode) also grants 1 point.
- For information about how to use the report system, please read HERE.
Victory Conditions[]
The game ended when it met with one of the following conditions:
- Destroy the opposite faction's Sword of Damocles ( ).
- Each team can press a Surrender button to start a vote and at least 70% of the team must agree to surrender in order for the vote to pass. (e.g. 5 out of 7 players pressed Yes). However, surrenders cannot be called before the 15 minute mark.
| Game Modes |
|---|
Eternal Arena • Eternal Battlefield • Blitz Battle • Dragon Quest • Ladder to the Sky • 2D Cube Protect the 2D World • Ikkitousen • Dimensional War • Custom Mode 300 Heroes Chess |